Monthly Archives: February 2021

openSUSE distributions dedicated page

openSUSE distributions dedicated page

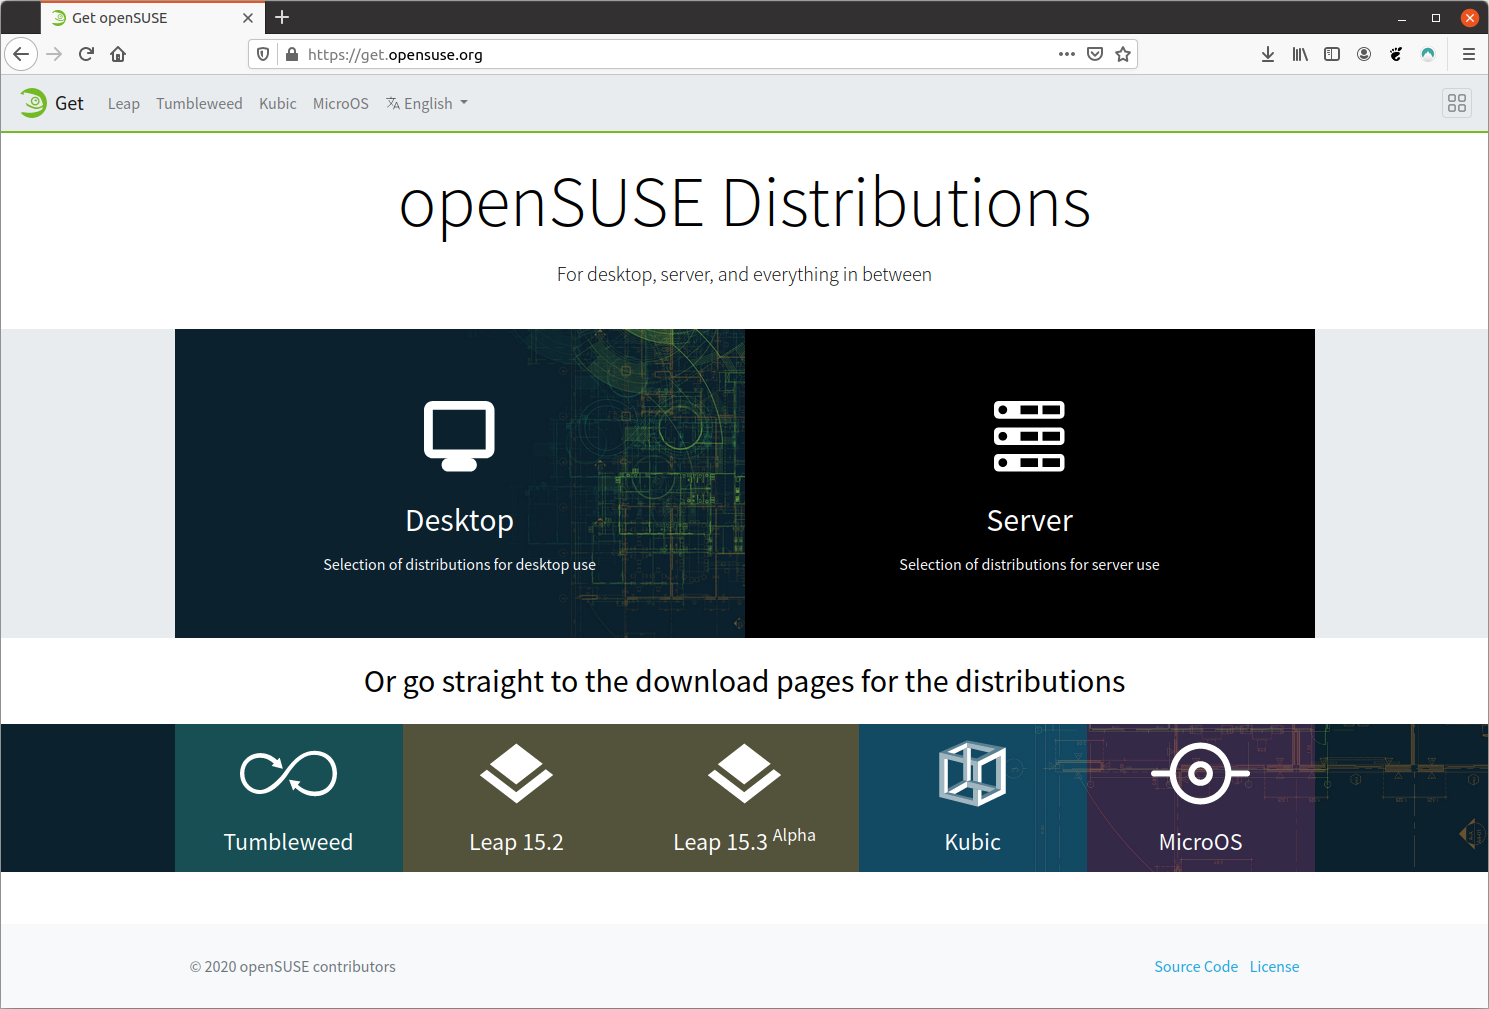
Previously, it would take someone new to the project quite some time to learn about the distributions and understand their differences. Not every new openSUSE user would know that it's ideal to use openSUSE MicroOS for single-purpose server hosting and Kubic for container orchestration with Kubernetes.

Thanks to a revamp of the openSUSE Project website, now the distributions get a dedicated page at get.opensuse.org.

A little work is still needed on the documentation part for each specific distribution. If you would like to help with that, you are most welcome. Join the openSUSE Documentation mailing list and coordinate with what's already being done to improve doc.opensuse.org or head to GitHub to have a look at the current opened issues. You will also find instructions on how to start contributing to the openSUSE Documentation.

For now, each distribution's individual page on get.opensuse.org points to the same official documentation guide which is Leap-centric. The documentation does not cover specific instructions for MicroOS, Kubic or even Tumbleweed.

How to host a free 1 year server running UBUNTU in AWS?

How to host a free 1 year server running UBUNTU in AWS?

In this tutorial we are going to get you started with Amazon Elastic Compute Cloud (Amazon EC2). You'll learn how to launch, connect to, and use an Ubuntu instance.

First and foremost you will need to create an account: https://aws.amazon.com/resources/create-account/

Once you have created your account, we will need to find a region of lowest latency for us and the easiest way is to go to this website that runs the AWS latency test. https://ping.psa.fun/ . For Mauritius, it is the af-south-1 region (Cape Town, Africa) which has the lowest latency.

Launching your instance:

  1. Open the Amazon EC2 console at https://console.aws.amazon.com/ec2/.
  2. On the top right corner, choose your preferred region
  3. From the console dashboard, choose Launch Instance.
  4. The Choose an Amazon Machine Image (AMI) page displays a list of basic configurations, called Amazon Machine Images (AMIs), that serve as templates for your instance. Select an Ubuntu Server 20.04 (Free tier eligible).
  5. On the Choose an Instance Type page, you can select the hardware configuration of your instance. Select the t3.micro instance type, which is eligible for the free tier.  For more information, see AWS Free Tier.
  6. Choose Review and Launch to let the wizard complete the other configuration settings for you.
  7. On the Review Instance Launch page, under Security Groups, you'll see that the wizard created and selected a security group for you. You can use this security group, or alternatively you can select the security group that you created when getting set up using the following steps:
  8. Choose Edit security groups.
  9. On the Configure Security Group page, ensure that Select an existing security group is selected.
  10. Select your security group from the list of existing security groups, and then choose Review and Launch.
  11. On the Review Instance Launch page, choose Launch.
  12. When prompted for a key pair, select Choose an existing key pair, then select the key pair that you created when getting set up.
    Warning
    Don't select Proceed without a key pair. If you launch your instance without a key pair, then you can't connect to it.
    When you are ready, select the acknowledgement check box, and then choose Launch Instances.
  13. A confirmation page lets you know that your instance is launching. Choose View Instances to close the confirmation page and return to the console.
  14. On the Instances screen, you can view the status of the launch. It takes a short time for an instance to launch. When you launch an instance, its initial state is pending. After the instance starts, its state changes to running and it receives a public DNS name. (If the Public DNS (IPv4) column is hidden, choose Show/Hide Columns (the gear-shaped icon) in the top right corner of the page and then select Public DNS (IPv4).)It can take a few minutes for the instance to be ready so that you can connect to it. Check that your instance has passed its status checks; you can view this information in the Status Checks column.

Connecting to your newly created Ubuntu Instance

Open an SSH client.

  1. Locate your private key file. The key used to launch this instance is nu-server.pem
  2. Run this command, if necessary, to ensure your key is not publicly viewable.
    chmod 400 *.pem
  3. Connect to your instance using its Public DNS as provided in your dashboard

Example:

ssh -i "server.pem" [email protected]