Last November, Microsoft announced that its Edge browser is coming to Linux in the near future. That day has arrived.
On 20 October 2020, Microsoft released Edge preview builds for Linux and with that Microsoft Edge is now available for all major desktop and mobile platforms.
Microsoft Edge on all major platforms
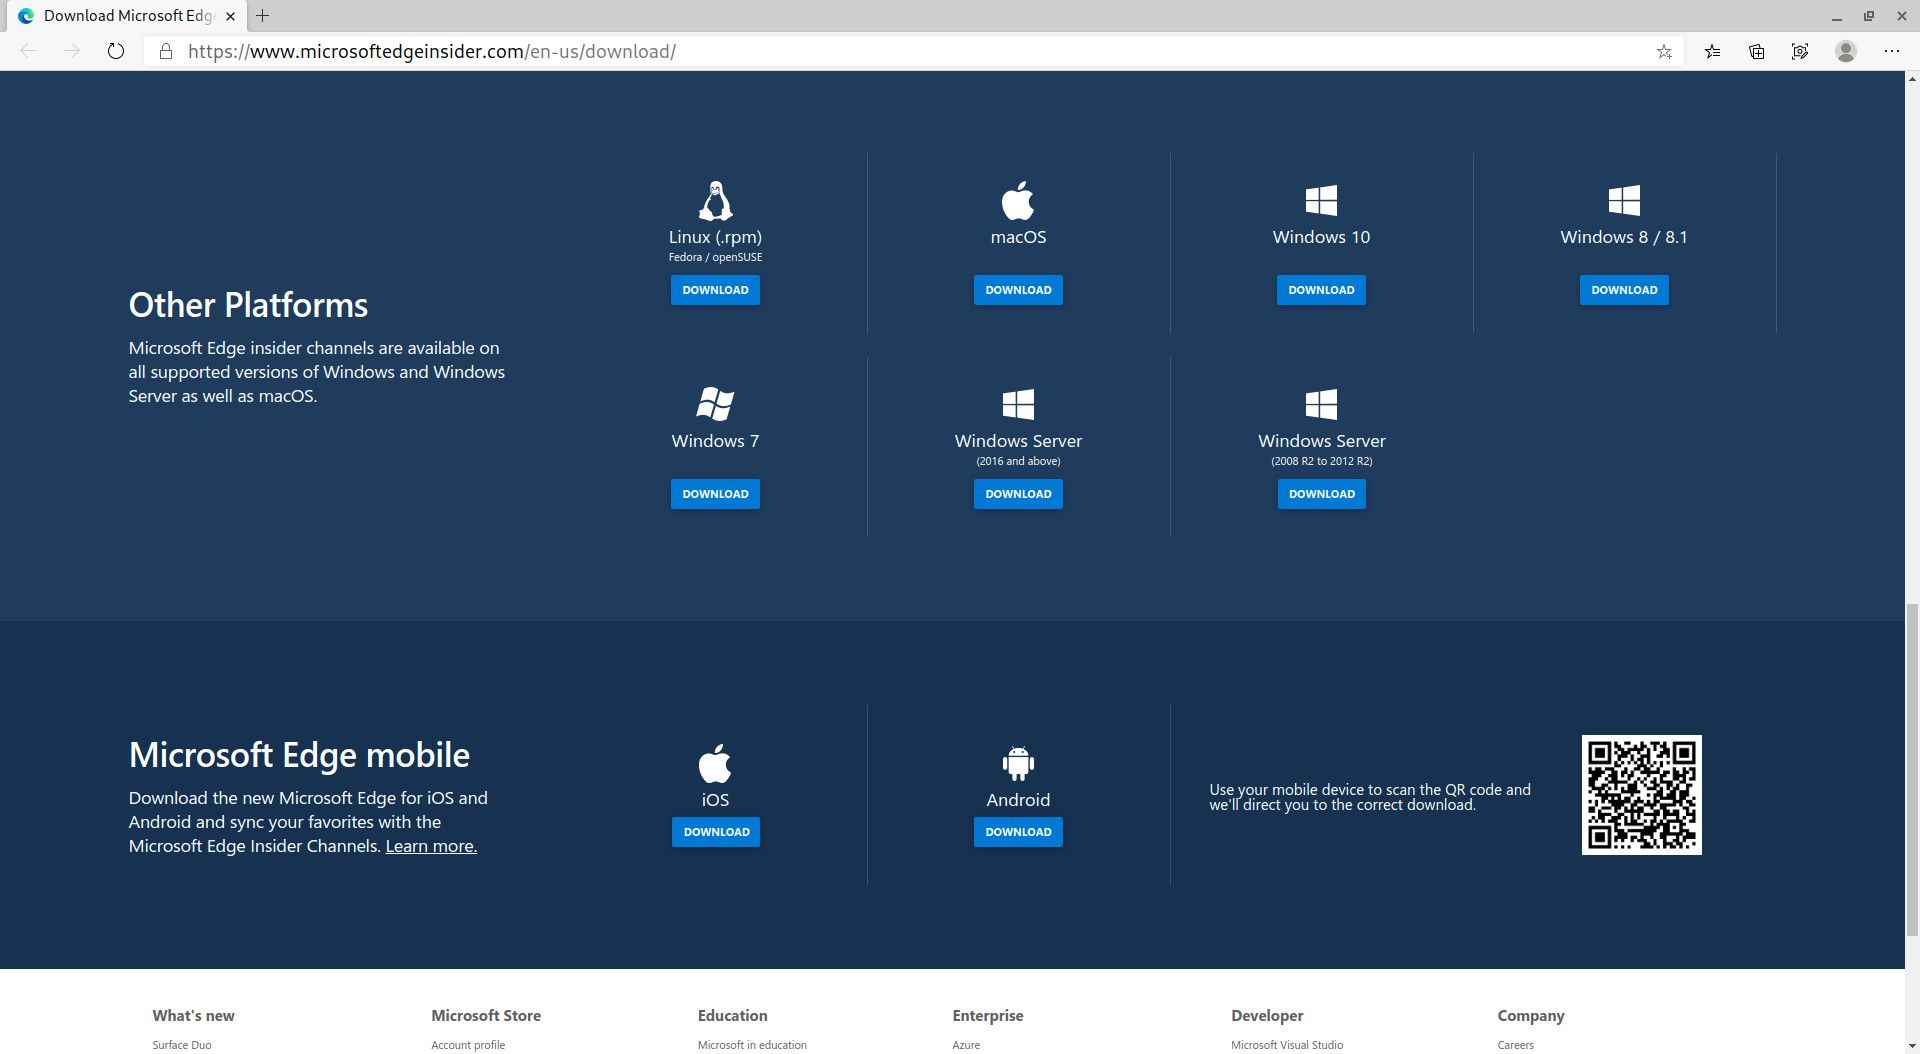
DEB and RPM packages are available on the Microsoft Edge Insider website. These packages are updated weekly.
Hence, to install Microsoft Edge on openSUSE, simply download the .rpm file and use zypper for the installation.
sudo zypper in ~/Downloads/microsoft-edge-dev-88.0.680.1-1.x86_64.rpm
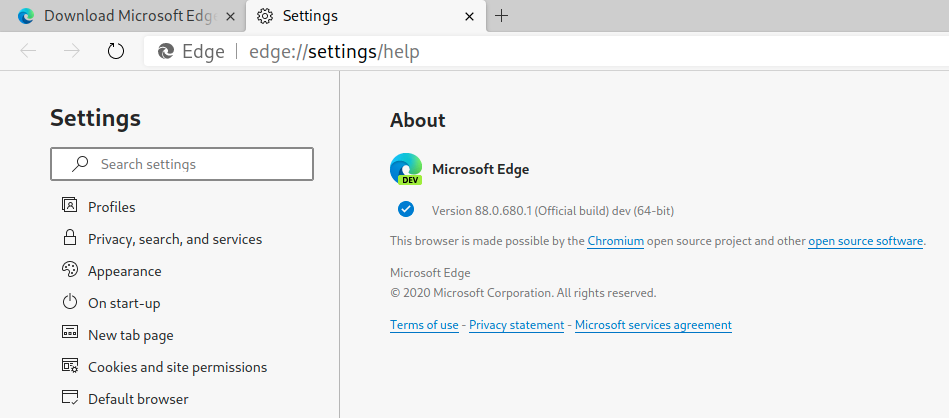
That’s it! You should now be able to run Edge on openSUSE. In fact, the above screenshots are from the Edge build version 88.0.680.1 running on openSUSE Tumbleweed.
Saamiyah pinged me a few days ago about the Hacktoberfest event that she was organising and asked whether I would be free to present a topic. Sure, why not?
As many tech meetups at the moment, the Hacktoberfest event also was virtual. It was hosted on the Jitsi instance of the Mauritius Software Craftsmanship Community. The event was scheduled to start at 19h30 on Friday, i.e last evening. I was late to join but “luckily” so was everybody.
As the event started, we had some small-talk before the presentations really kick-off. We talked about flexi-time, work-from-(home|anywhere), and how they compare to being full-time in office.
Saamiyah did the first presentation in which she talked about the concept of Hacktoberfest, a month where open source software is celebrated. Sandeep spoke about local open source projects on GitHub.
I spoke about Flatpak and how to set it up on openSUSE. I concluded my presentation with an observation on the rise of Flatpak fuelled by the idea of having immutable & maintenance-free systems such as Fedora Silverblue and openSUSE MicroOS Desktop.
The next speaker, Alan, spoke about Docker Swarm, followed by Pritvi who talked about software licenses. It was 22h00 by that time and I could not stay longer. I bid goodnight on the chat room and wished everyone to continue having fun!
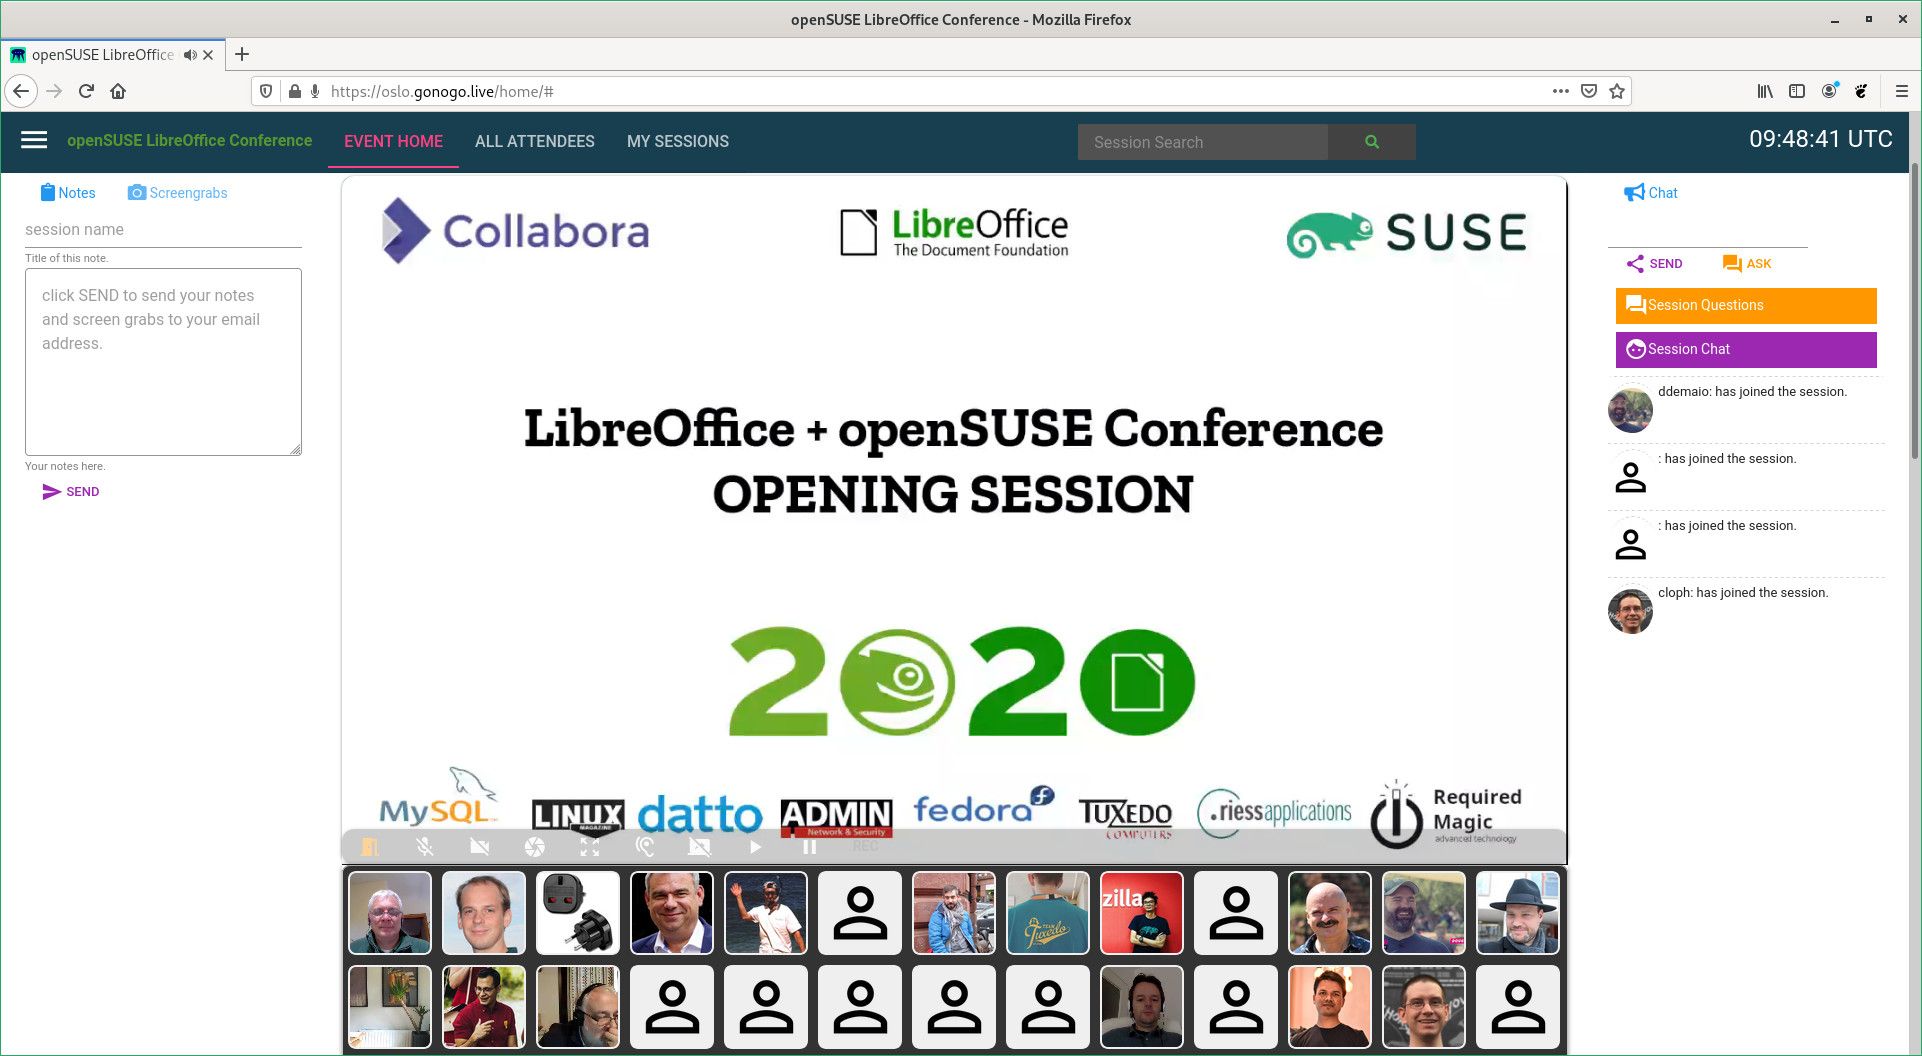
oSLO 2020 kicked-off on Thursday 15 October at 10h00 UTC with an opening address by The Document Foundation’s Chairman, Lothar Becker.
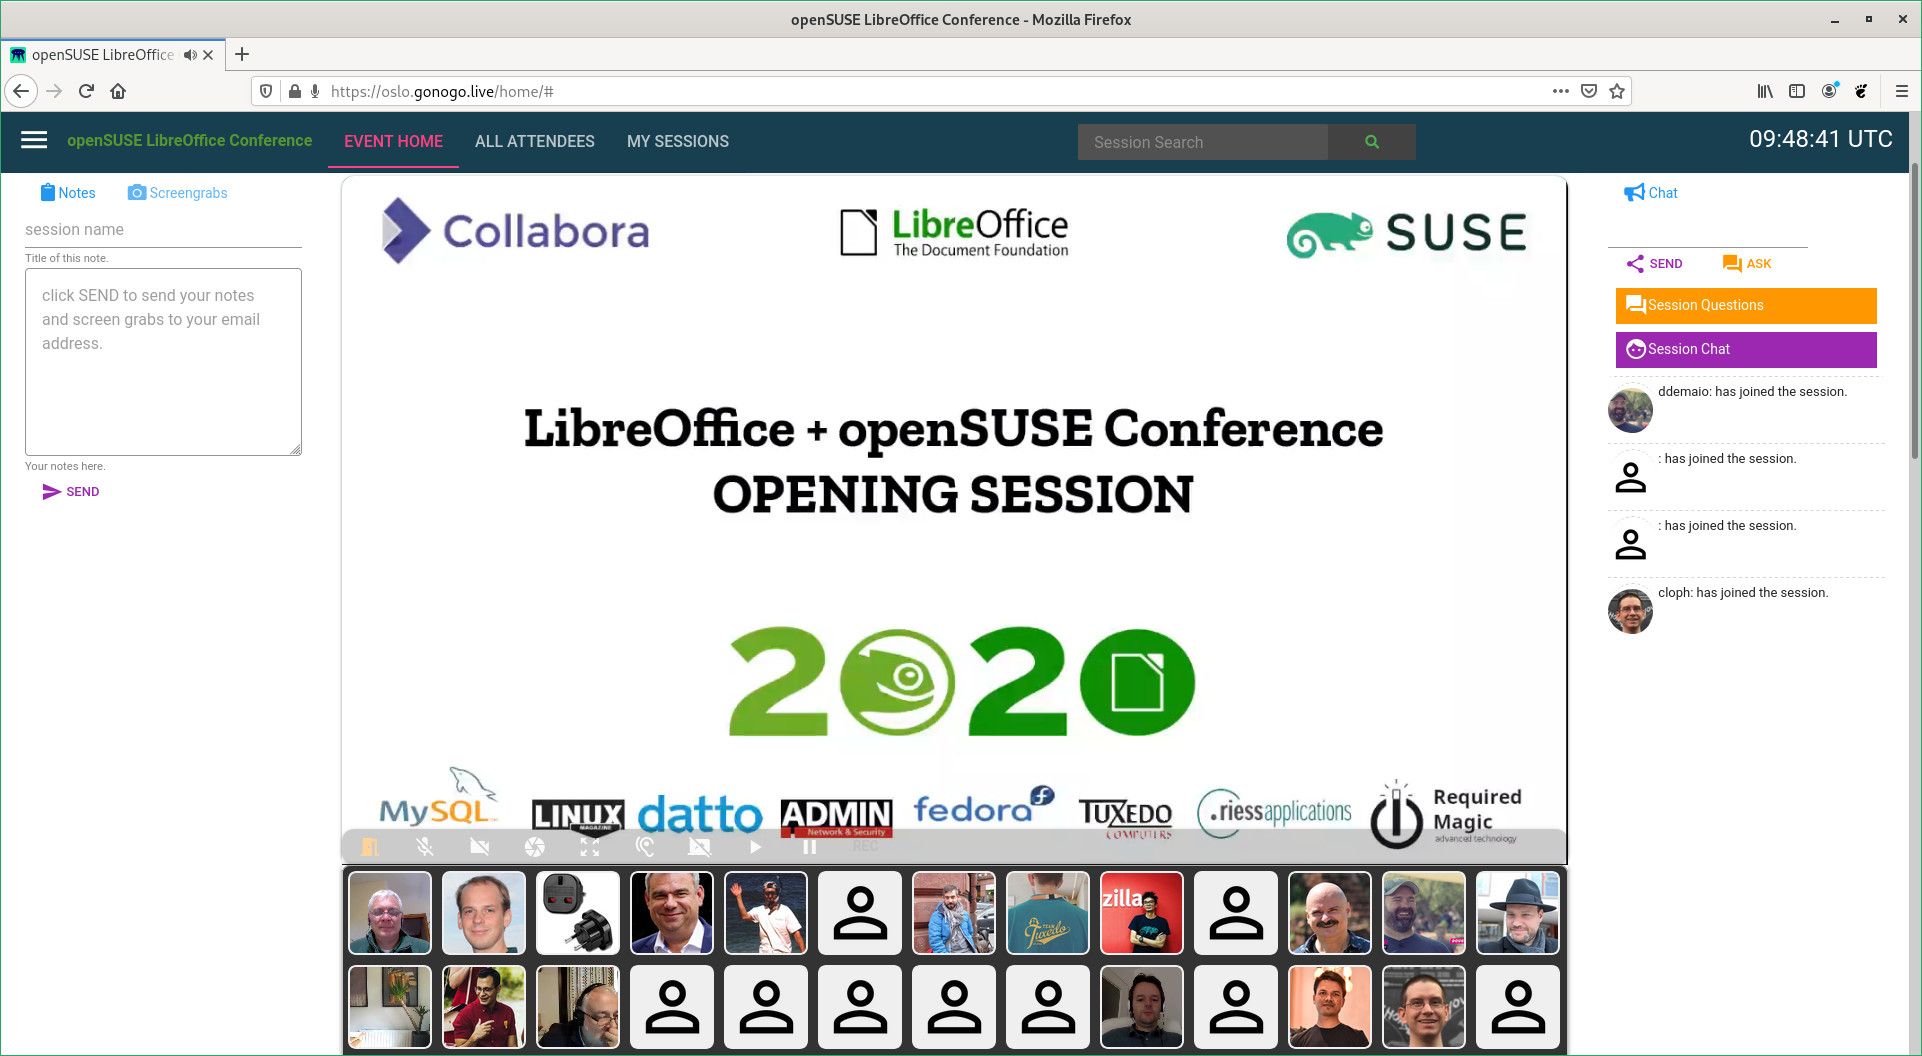
Screenshot from the opening session at the oSLO Conference
The conference was due to happen in Nuremberg, Germany, but because of the pandemic the plan was changed and the event went fully online. Three sessions ran simultaneously in virtual rooms. Two rooms hosted the short & long talks while the third room hosted the workshops.
During the opening session, as more people kept joining, the platform started to show signs of high load. People reported issues with the audio quality and some said that the page was not loading at all. Thanks to the Telegram group dedicated to the oSLO Conference communications, issues were being promptly reported and handled. Within a matter of minutes the organizers arranged to move the all sessions to The Document Foundation’s Jitsi instance. The latter worked like a charm. The organizers and volunteers who helped in the swift transition did a great job.
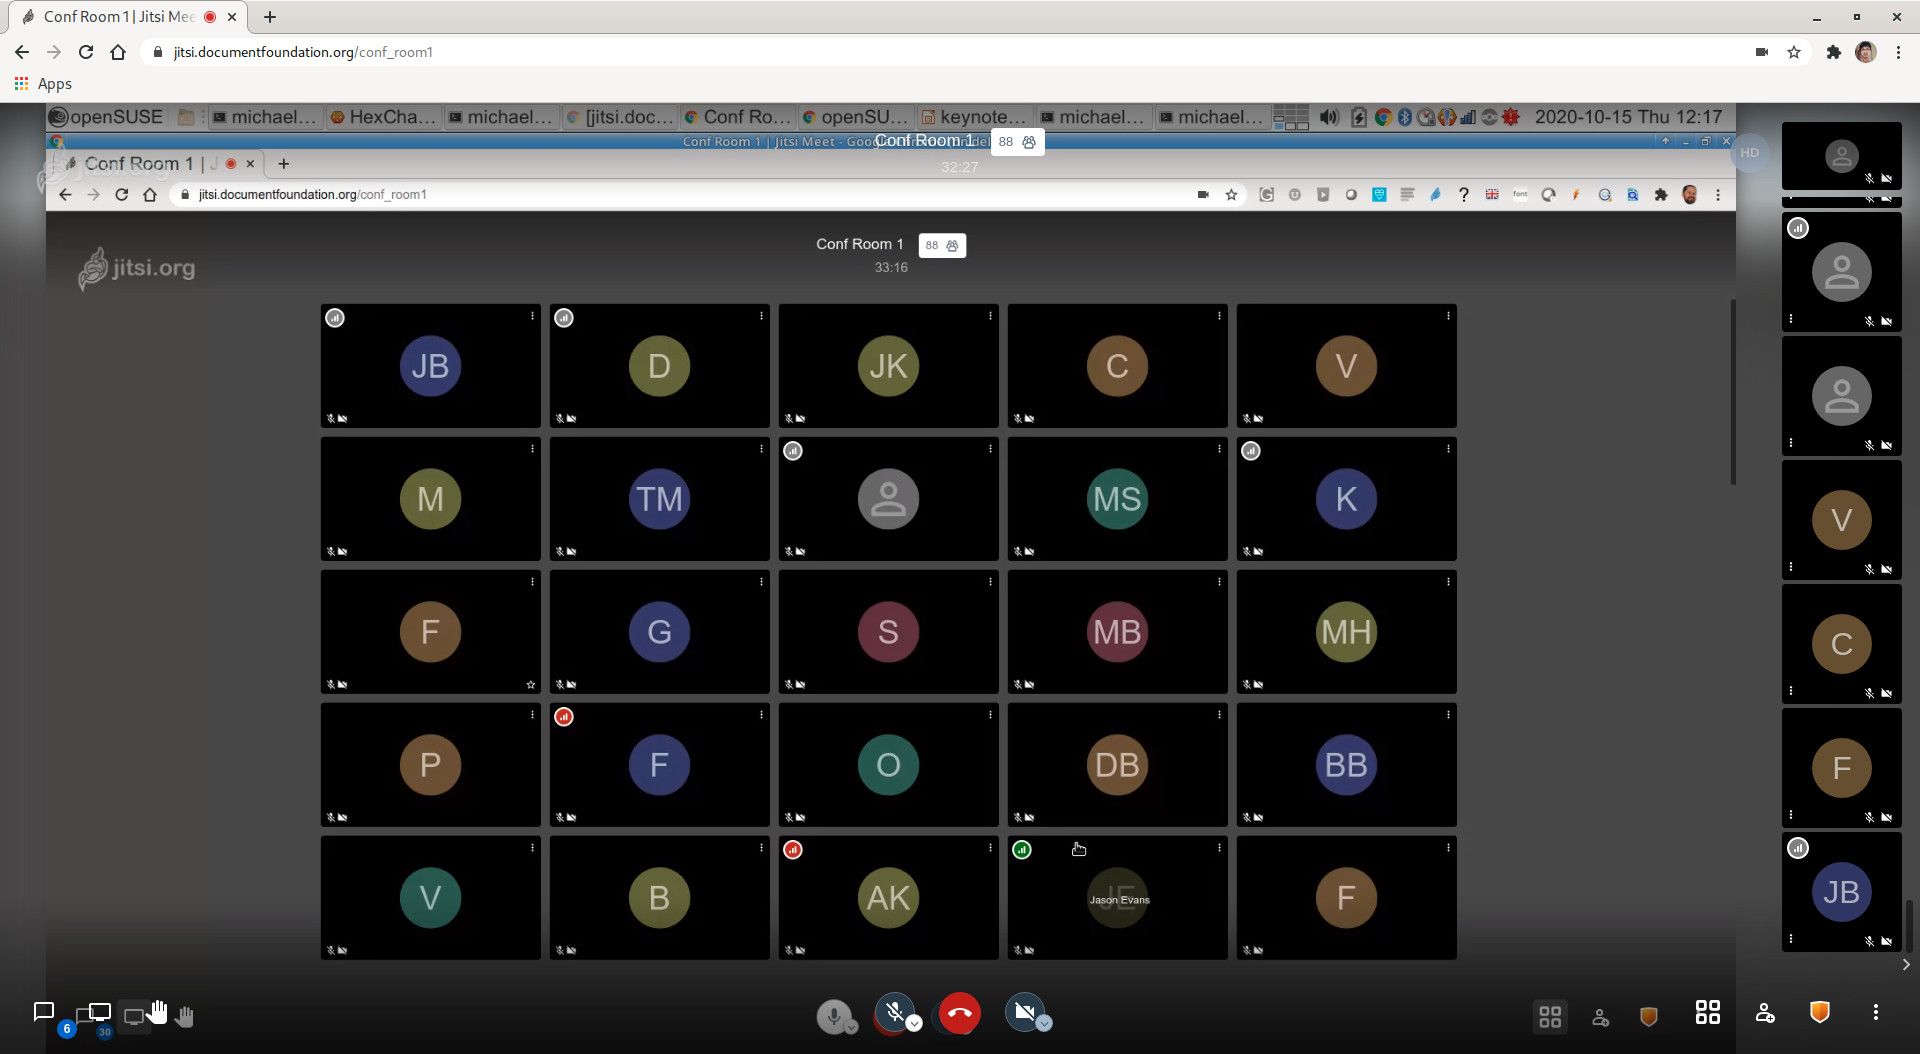
Jitsi instance provided by The Document Foundation
The conference room 1 easily held more than 80 participants at one time and there was no degradation in the quality of audio/video.
Getting started with Podman
I had my talk on Podman scheduled at 13h30 UTC on the first day of the conference. It went fine, except my poor timing of not being able to wrap it up as a short talk of 15 mins. I’ll improve next time. 😉
The second day was even more fun. I hopped into the conference chat room from time to time to have a chit-chat with friends. It was not the same as having a geek talk over a beer during the conference after parties, but I was glad to see friends from the other side of the planet. I was happy to see that they are doing well.
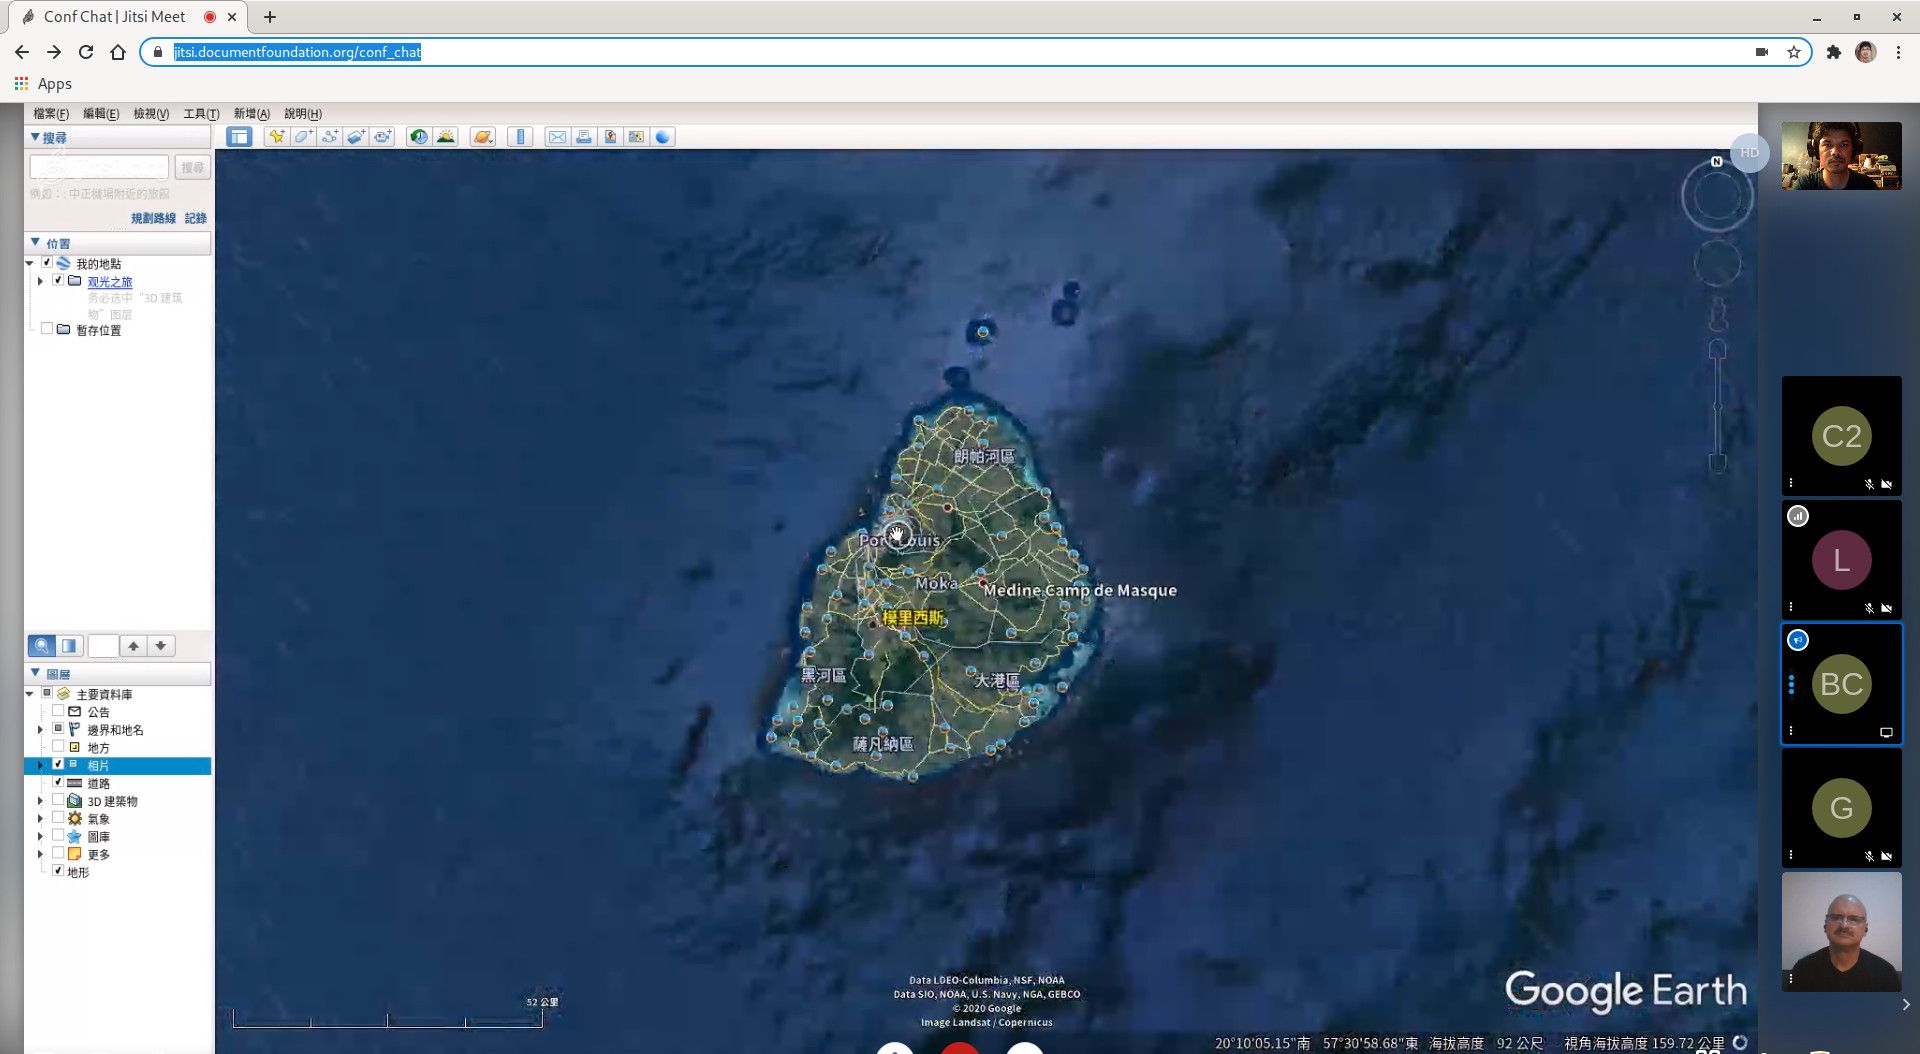
Where is Mauritius?
At one time during the beer chat, I was talking to two conference participants, one was from Taiwan and the other from Bulgaria. It is always funny to see people’s reaction on how small Mauritius is compared to the other countries. Well, I am proud of the tiny dot in the middle of the ocean. 🇲🇺
Meet the openSUSE Board
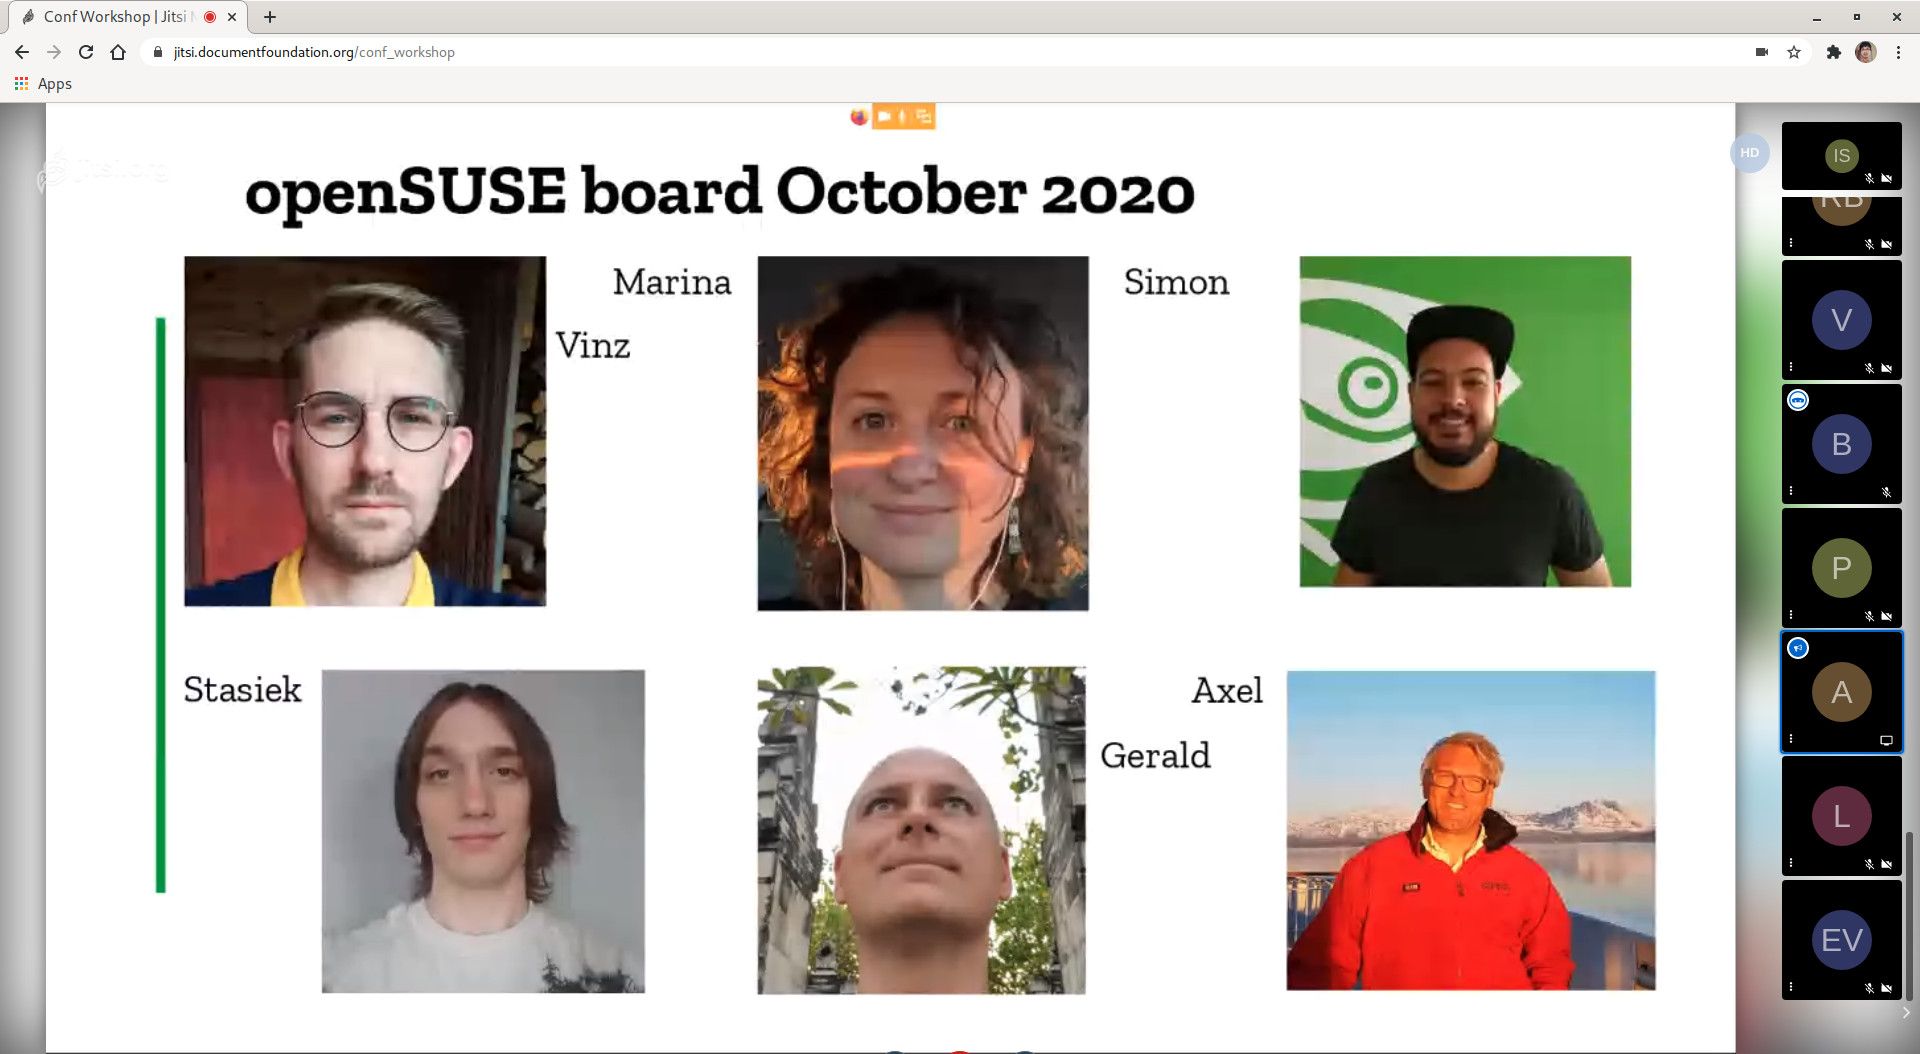
The last session in the room 1 of the conference, on the second day, was held by the openSUSE Board members.
openSUSE Board – October 2020
They provide updates and statistics about the project over the past year and tell us a bit about what the Board is planning for the future.
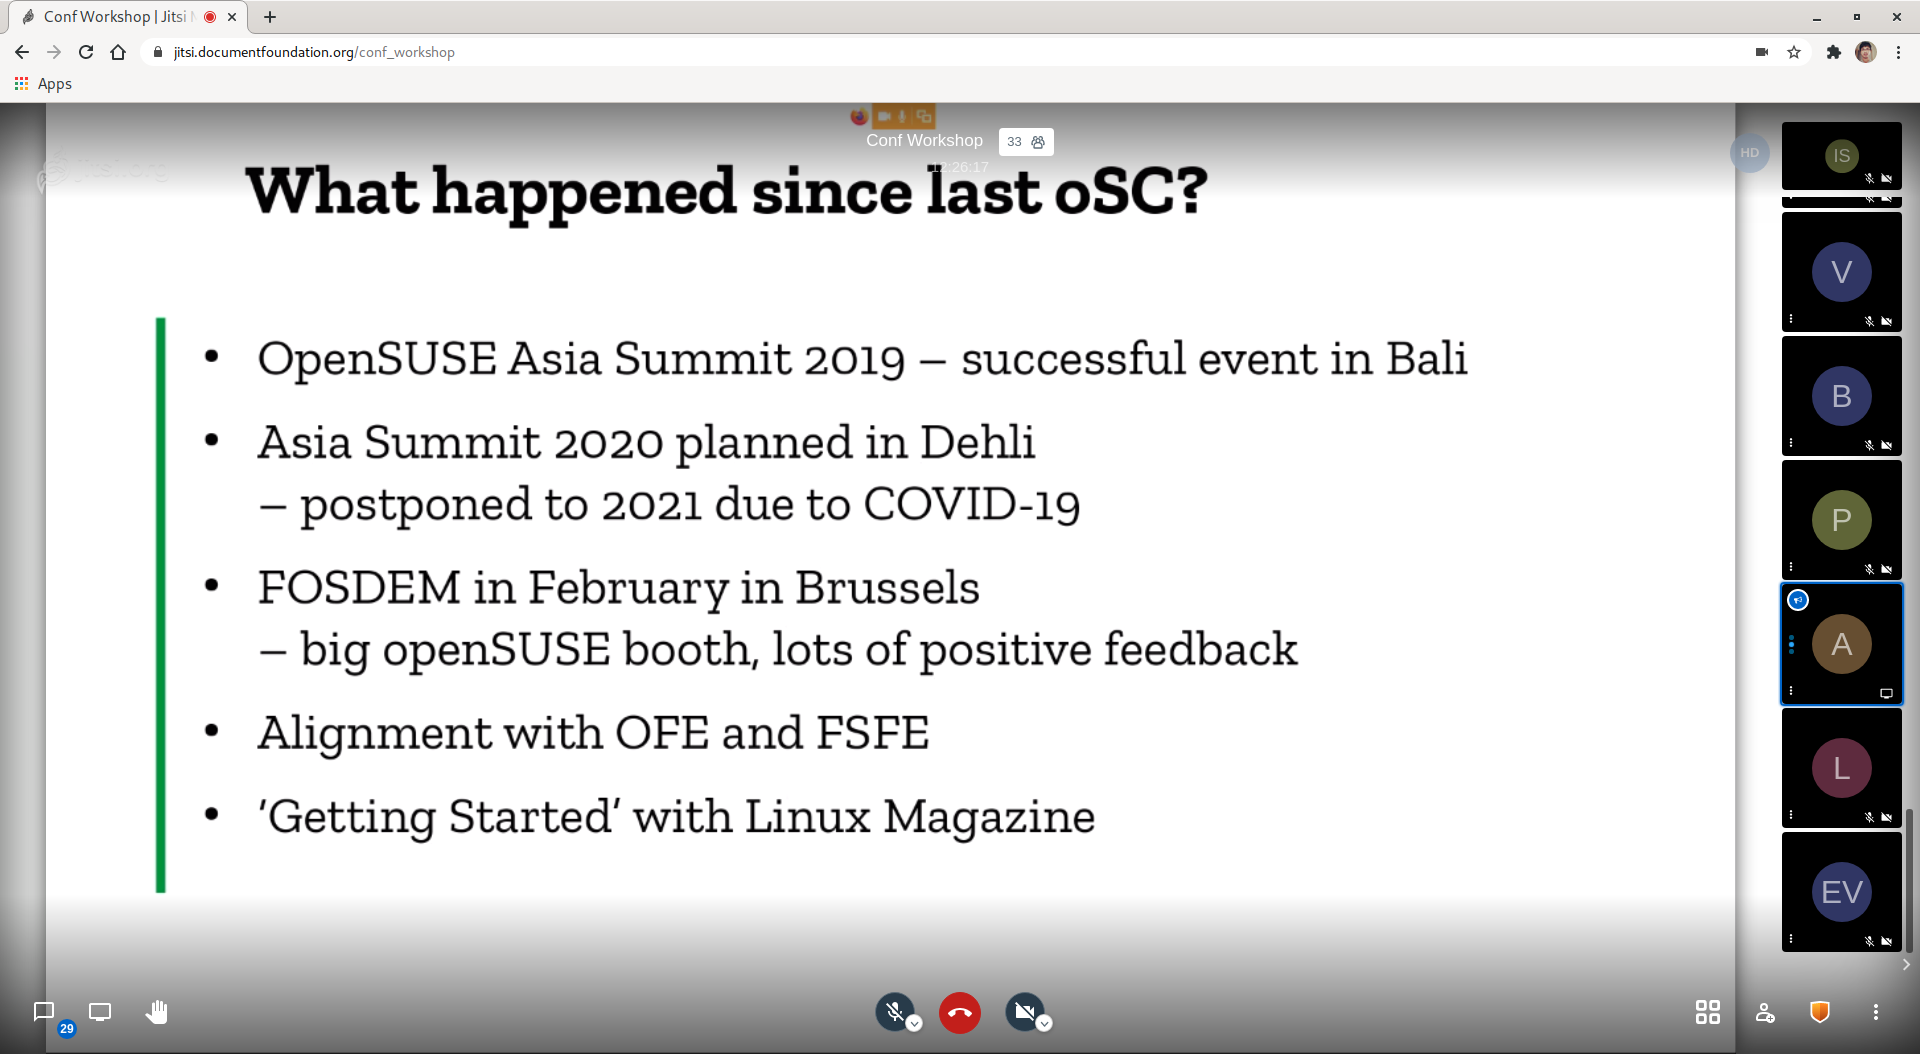
What happened since last openSUSE Conference?
It is also the time when openSUSE members can ask questions.
The session was scheduled at 21h00 UTC which was 01h00 in the morning (the next day) for me. I was tired but I enjoyed the session. I jumped into the conversation when there was a comment about having a diverse representation on the Board with people from different parts of the world. I commented as an official of the Election Committee, encouraging members from all parts of the world to step up & run as candidate or nominate someone for the next Board election.
See you next year!
Italo Vignoli, founding member of The Document Foundation, during the closing keynote of the openSUSE + LibreOffice Conference (oSLO 2020), asked participants to share comments on how to improve the conference experience. He pointed out that this might not be the last virtual conference, considering the pandemic, although we all would love to have a physical conference soon.
Kudos to the organizers and volunteers for a successful conference. 👏
Back in February 2020 Christian Boltz resigned from the openSUSE Board explaining the reasons behind his decision on the project mailing list. His resignation came about two weeks after Sarah Julia Kriesch’s resignation from the Board.
The openSUSE Board was left with two vacant seats to be filled. Sarah had been a board member for just about a few weeks after the 2019-2020 board elections. After her resignation, the openSUSE Board decided to appoint Vinzenz Vietzke on the board based on the results of the 2019-2020 board elections. Following that, only one seat remained vacant on the board. However, before the Election Committee could start discussions for an election to fill that vacant seat, about two weeks after Vinzenz’s appointment, openSUSE member Pierre Böckmann called for a No-Confidence vote against the current board. It was unprecedented in the community and that put things on halt for a while.
The board election rules state that:
If 20 per cent or more of the openSUSE members require a new board, an election will be held for the complete elected Board seats.
The Election Committee was tasked to find out whether 20% of the community is indeed calling for a re-election. At this point I should disclose that I am an election official in the openSUSE Election Committee and the task given to us was not easy. After much consultation, we finally came up with a way to “measure” this 20% requirement of the election rule. We set up an electronic petition using the voting platform that is used for openSUSE Board elections.
A few days ago the petition ended and the result showed that only 11.6% of the community was in favour of a re-election. That does not satisfy the requirement for a forced re-election and thus an ad-hoc election will be carried to fill the one vacant seat only.
Starting now and until the 2nd of August openSUSE members wishing to run for this election or nominate someone from the community can do so by sending an email to [email protected]. I wish to remind that only openSUSE members can run for board candidacy and vote in this election.
The Election Committee is composed of Ariez Vachha, Edwin Zakaria and myself.
Today, while pulling the latest Nextcloud container image from the docker.io repository I noticed that it is failing. Looking at the read: connection reset by peer error I assume it could be primarily due to network failure; maybe poor quality of the connection.
Note that Mauritius is far from “everywhere” else and connectivity issues are nothing new.
Podman does not retry to copy the image in case of failures.
A few days ago there was a suggestion to implement a similar feature in Podman that is present in Buildah, which provides the image copy retry functionality.
For the curious, the implementation can be seen here.
Container images that are pulled by Buildah are stored in the local repository which can also by accessed by Podman, so that’s an advantage. I tried pulling the Nextcloud container image using Buildah and it completed successfully.
Now, the downloaded container image is also accessible by Podman.
ish@coffee-bar:~> podman images
REPOSITORY                     TAG      IMAGE ID       CREATED        SIZE
docker.io/libreoffice/online   latest   0586fecfa3c1   28 hours ago   2.84 GB
docker.io/library/nextcloud    latest   327476ebe328   3 days ago     774 MB
To conclude, while we are waiting that a retryCopyImage function is available in Podman, we can use Buildah to pull container images that are troublesome due to network issues.
Estu Fardani is a helpful & jovial fellow whom I met at the openSUSE Asia Summit last year in Bali, Indonesia. Recently, for the openSUSE Virtual Summit, Estu did a short presentation on Podman. His presentation video is available on YouTube and slides deck available on Google Slides.
While I am not a fan of alias docker=podman I believe Estu added that part in his slide below to make the Podman transition a bit smoother for users already familiar with Docker commands.
Slide from Estu’s presentation
Note that the latest release of openSUSE Leap, i.e version 15.2, comes with support for Podman through the libcontainers-common package.
Previously, if one needed to experiment with Podman and/or deploy in production then openSUSE Tumbleweed, Kubic or MicroOS were the supported choices. Now, one may deploy Podman containers on their existing Leap infrastructure (after upgrading to the latest version 15.2).
२ जुलाई २०२० को openSUSE Leap 15.2 संस्करण उपलब्ध हुआ।
openSUSE Leap एक निशुल्क और लिनक्स-आधारित ऑपरेटिंग सिस्टम है जो आप अपने पीसी, लैपटॉप या सर्वर पर इस्तेमाल कर सकते है। Leap 15.2 और SUSE Linux Enterprise एक समान कोडबेस उपयोग करते है जिस से openSUSE Leap 15.2 की स्थिरता और ज्यादा मज़बूत होती है।
यह विशेष संस्करण कृत्रिम बुद्धिमत्ता, यानी आर्टिफिशियल इंटेलिजेंस, को अधिक आसानी से सुलभ बनाता है। निम्नलिखित पैकेज ऑफिशल रिपॉजिटरीज से प्राप्त किए जा सकते हैं।
I had a bunch of video files in the .VOB format which I copied from a few DVDs a couple of years back. Uploading them on a cloud storage service (e.g Google Drive, OneDrive etc) for safe keeping is nice but not practical since they cannot be played directly through the cloud service’s video player. The latter would play .MP4 video files.
FFMPEG comes handy here to convert the video files.
ffmpeg -i bla.vob -b:v 3000k -b:a 256k bla.mp4
I used mediainfo to find the maximum video & audio bit rate.
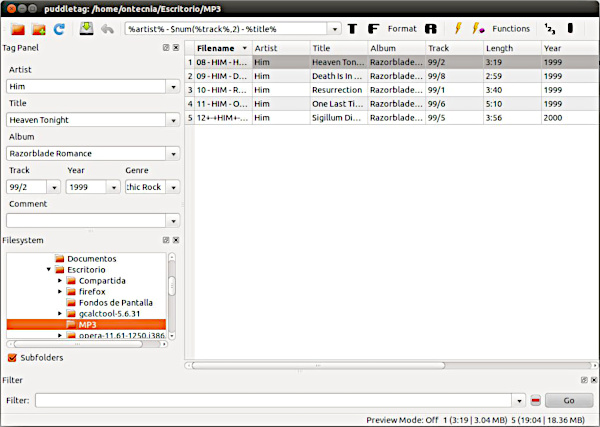
I am a big fan of Puddletag, an audio tag editor for Linux similar to the Mp3tag Windows program. As seen above, Puddletag uses a spreadsheet-like layout which makes it quite unique in the Linux world and matches 100% with how I like tagging to be. Puddletag and I are on the same wavelength and I have been using it for some years now to curate my extensive music collection.
Unfortunately, Puddletag was written in Python 2 and relies on a number of Python 2 libraries. When I upgraded to Fedora Linux 32 a few days ago, I lost a number of those libraries as well as Puddletag (as Python 2 reached its end of life (EOL) on 1st January 2020).
Fortunately, the Linux community came to the rescue and created a corresponding AppImage which works on all new Linux distributions like Fedora 32 or Ubuntu 20.04. Get the AppImage here courtesy of Patsim and have fun!
I’ve tested it in Fedora Linux 32 and it works great!